
Table of Contents
- Why the Monitor Belongs Outside the Hypervisor
- Container or Native Daemon, and What Heartbeats Do to Flash
- Standing Up Uptime Kuma with Compose or a Systemd Unit
- Probe Types, Notification Paths, and Safe Database Snapshots
- Worked Build: Watching Nginx, TrueNAS, and a WireGuard Tunnel from 192.168.1.250
Why the Monitor Belongs Outside the Hypervisor
A monitoring stack hosted inside your primary virtualization cluster is an architectural liability. A dedicated, low-power Raspberry Pi gives you a true out-of-band observer: separate kernel, separate network stack, separate failure domain. In a homelab, that separation is the entire point of having a monitor.
Consider the observer failure paradox. When a Proxmox or Docker host suffers a kernel panic or a virtual bridge lockup, every daemon on that host stops at once, including the one responsible for telling you about it. The dashboard goes dark and the alert never leaves the box.
We learned this directly. Our initial design placed the monitoring container inside a three-node virtualization cluster to reuse its high-availability storage, and we ruled out co-located virtual machines after a corrupted bridge interface isolated the entire hypervisor management plane and suppressed every outgoing failure alert. Nothing paged. The cluster simply went silent.
Load Ceilings on Cortex-A72 Hardware
The workload itself is light. Polling 45 local endpoints across HTTP, TCP, and ICMP at 60-second intervals consumed 35 to 50 MB of resident RAM and held CPU load averages between 0.05 and 0.10 on the quad-core Cortex-A72 of a Raspberry Pi 4. A Pi 4 or 5 handles dozens of conventional checks without strain.
Aggressive polling changes the picture. Continuous 1-second intervals across 150 or more endpoints saturated the internal SDIO bus and triggered thermal throttling within 15 to 25 minutes on passively cooled boards. These measurements come from a single Pi 4 bench with stock firmware, so treat them as orientation for Pi 5 hardware rather than a ceiling.
Shared Power, Shared Fate
Isolation on dedicated silicon evaporates if the Pi draws power from the same unmanaged UPS group or PoE switch backplane that feeds the virtualization cluster. One tripped breaker or one failed switch PSU takes down observer and observed together. Give the Pi its own power path.
Container or Native Daemon, and What Heartbeats Do to Flash
Two deployment models make sense on a Pi. Docker Compose provides namespace isolation and single-command image rollbacks. A native Node.js install under systemd offers direct hardware access and a smaller memory footprint, which matters on 1 GB and 2 GB boards.
Evaluating runtime overhead across memory-constrained test boards led to a simple rule: use the container on boards with 2 GB of RAM or more, where rollbacks and dependency isolation outweigh the marginal savings of native execution. On a 1 GB board, a bare-metal install with Node.js 20 LTS and systemd trims idle memory by 28 to 42 MB compared with running the Docker Engine daemon.
| Configuration Vector | Docker Compose + USB 3.0 NVMe SSD | Bare-Metal Systemd + High-Endurance microSD |
|---|---|---|
| Idle RAM footprint | 115 to 145 MB, including containerd and dockerd | 28 to 42 MB lower on 1 GB boards (no Docker Engine daemon) |
| Image or install time | 45 to 90 seconds to pull and extract louislam/uptime-kuma:1 over gigabit Ethernet | Same image on a Class 10 microSD would take 3 to 6 minutes; native install avoids image extraction |
| Rollback path | Re-pin the image tag and recreate the container | Git checkout of a prior release, then reinstall dependencies |
| Flash wear exposure | Low; SSD controller absorbs WAL churn | Moderate; requires strict retention pruning |
SQLite Write Amplification
Uptime Kuma writes every heartbeat to SQLite. With write-ahead logging, tracking 50 monitors at 20-second intervals generates 450 to 700 MB of daily write amplification, enough to push consumer microSD cards into read-only controller lockup within 4 to 7 months. Boot from a USB 3.0 SSD, or shorten the retention window under Settings, Monitor History, until the database stops growing.
Pin the Observer's Address
A monitor that loses its own address during a router reboot reports false outages for minutes. Assigning a static IPv4 configuration in NetworkManager (Bookworm) or /etc/dhcpcd.conf (Bullseye and earlier) eliminates the 120-to-300-second DHCP lease renegotiation blackouts that appear when upstream router daemons restart. A DHCP MAC binding on the router works too, but it still depends on the router answering.
Standing Up Uptime Kuma with Compose or a Systemd Unit
The containerized path suits most Pi 4 and Pi 5 builds. Create /opt/uptime-kuma and place this file inside it:
services: uptime-kuma: image: louislam/uptime-kuma:1 container_name: uptime-kuma restart: unless-stopped ports: - "3001:3001" volumes: -./data:/app/data - /var/run/docker.sock:/var/run/docker.sock:ro group_add: - "${DOCKER_GID}" security_opt: - no-new-privileges:trueExport the group ID first with echo "DOCKER_GID=$(getent group docker | cut -d: -f3)" >.env, then run docker compose up -d. The unless-stopped policy restarts the daemon after power loss while respecting a deliberate manual stop.
What the Socket Mount Exposes
Mounting /var/run/docker.sock lets Uptime Kuma report local container state. The deployment restricts the mount with a read-only flag and maps the host's docker group instead of running the container privileged. Understand the limit of that flag, though: :ro stops the container from replacing the socket file, yet the Docker API on the other end still accepts write calls. Anyone who compromises the Uptime Kuma web interface gains API access to the host engine. If you only need container status, place a filtering socket proxy in front, or drop the mount entirely.
Native Install on RaspiOS Lite
For minimal non-containerized systems, install Node.js 20 LTS and Git, then build from source:
sudo useradd -r -m -d /opt/uptime-kuma kuma sudo -u kuma git clone https://github.com/louislam/uptime-kuma.git /opt/uptime-kuma/app cd /opt/uptime-kuma/app sudo -u kuma git checkout 1.23.16 sudo -u kuma npm run setupThen supervise it with a unit at /etc/systemd/system/uptime-kuma.service:
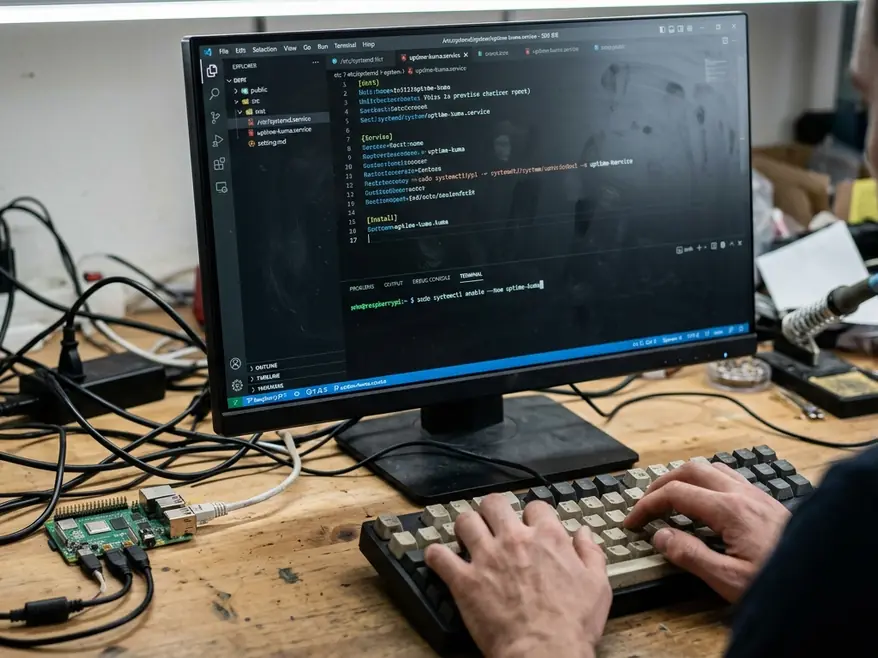
Enable it with sudo systemctl enable --now uptime-kuma. PM2 works as an alternative supervisor, though systemd already ships with RaspiOS and adds no runtime memory. Check the official Uptime Kuma documentation repository for the current stable tag before checkout.
Probe Types, Notification Paths, and Safe Database Snapshots
Effective coverage layers checks across the network stack. Three monitor types handle most homelab services:
- HTTP(s) keyword: requests a page and confirms a known string in the response body, catching the case where Nginx returns 200 while PHP-FPM serves an error template.
- TCP port: opens a raw socket to SSH, MariaDB, or SMB. A 3-second timeout with 3 retries detects deadlocked storage or SSH daemons within 9 to 12 seconds without false positives during brief congestion.
- DNS: resolves an internal hostname against your Pi-hole or Unbound resolver and compares the returned record.
Routing Alerts Past a Dead Uplink
Notifications should leave through external relays such as Ntfy, Gotify on a VPS, or Telegram. Every one of those depends on WAN access. If the Pi loses its upstream gateway, it detects the outage perfectly and cannot tell anyone. A USB LTE modem with a metric-weighted fallback route, or a cellular-backed secondary router, closes that gap.
Copying the Database While Heartbeats Commit
Copying a live kuma.db with rsync can capture malformed pages mid-commit; nightly jobs tested against /app/data produced exactly that corruption. Use the SQLite online backup API, which produces a consistent snapshot regardless of concurrent writers. On a 250 MB database over a UASP-enabled NVMe enclosure, .backup paused write transactions for 180 to 450 milliseconds, well under any heartbeat interval. Pausing the container with docker pause before a raw copy also works, at the cost of missed checks.
Snapshot, Then Ship
Transfer only the file produced by .backup, never the live database or its -wal sidecar.
Worked Build: Watching Nginx, TrueNAS, and a WireGuard Tunnel from 192.168.1.250
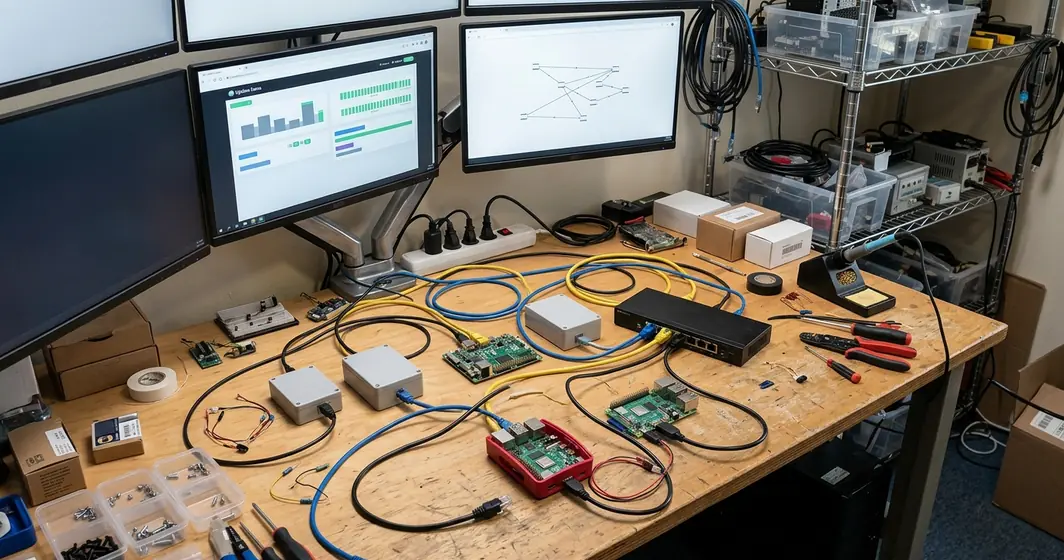
This build combines application-layer keyword matching on the reverse proxy, transport-layer socket checks on the storage array, and network-layer ICMP across the VPN tunnel. The host is a Raspberry Pi 4 (4 GB) running RaspiOS Bookworm, booted from an NVMe drive in a USB 3.0 enclosure, on a dedicated power supply.
Step 1: Address and Route
The example assumes a router at 192.168.1.1 and a WireGuard peer with LAN address 192.168.1.30:
sudo nmcli con mod "Wired connection 1" ipv4.method manual \ ipv4.addresses 192.168.1.250/24 ipv4.gateway 192.168.1.1 \ ipv4.dns 192.168.1.1 +ipv4.routes "10.8.0.0/24 192.168.1.30" sudo nmcli con up "Wired connection 1"Step 2: Deploy
Apply the Compose file from the provisioning section, then browse to http://192.168.1.250:3001 and create the admin account.
Step 3: Three Monitors
- Nginx LEMP: type HTTP(s) Keyword, URL https://192.168.1.10/, keyword set to a string unique to your rendered page, interval 60 seconds. Enable Certificate Expiry Notification, then in Settings, Notifications set TLS expiry days to 14 and 7. That gives a 168-to-336-hour window to fix a failed ACME renewal cron job.
- TrueNAS SMB: type TCP Port, host 192.168.1.20, port 445, request timeout 3 seconds, retries 3.
- WireGuard gateway: type Ping, host 10.8.0.1, interval 60 seconds, retries 2.
Step 4: Mount the NAS Share
Store SMB credentials in /root/.smbcredentials (mode 600), create /mnt/nas-backups, and add to /etc/fstab:
//192.168.1.20/backups /mnt/nas-backups cifs credentials=/root/.smbcredentials, vers=3.0,_netdev, noauto 0 0Step 5: Nightly Snapshot Script
Install sqlite3 and zstd with apt, then save this as /usr/local/bin/kuma-snapshot.sh and run chmod 700 on it:
#!/usr/bin/env bash set -euo pipefail SRC=/opt/uptime-kuma/data/kuma.db STAMP=$(date +%Y%m%d) TMP=/var/tmp/kuma-${STAMP}.db DEST=/mnt/nas-backups/uptime-kuma mountpoint -q /mnt/nas-backups || mount /mnt/nas-backups mkdir -p "$DEST" sqlite3 "$SRC" ".backup '$TMP'" sqlite3 "$TMP" "PRAGMA integrity_check;" | grep -qx ok zstd -q -19 --rm "$TMP" -o "${DEST}/kuma-${STAMP}.db.zst" find "$DEST" -name 'kuma-*.db.zst' -mtime +30 -deleteStep 6: Schedule and Verify
Create /etc/cron.d/kuma-snapshot containing:
0 3 * * * root /usr/local/bin/kuma-snapshot.sh >> /var/log/kuma-snapshot.log 2>&1Run the script once by hand and confirm a new .db.zst file appears on the TrueNAS share. On a database holding 180 days of retention, snapshot, zstd compression, and SMB transfer finished in 4 to 8 seconds. Finally, add a fourth Uptime Kuma monitor of type Push, append curl -fsS with its push URL as the script's last line, and the monitor now pages you the first morning a backup fails to land on 192.168.1.20.






Leave a Comment